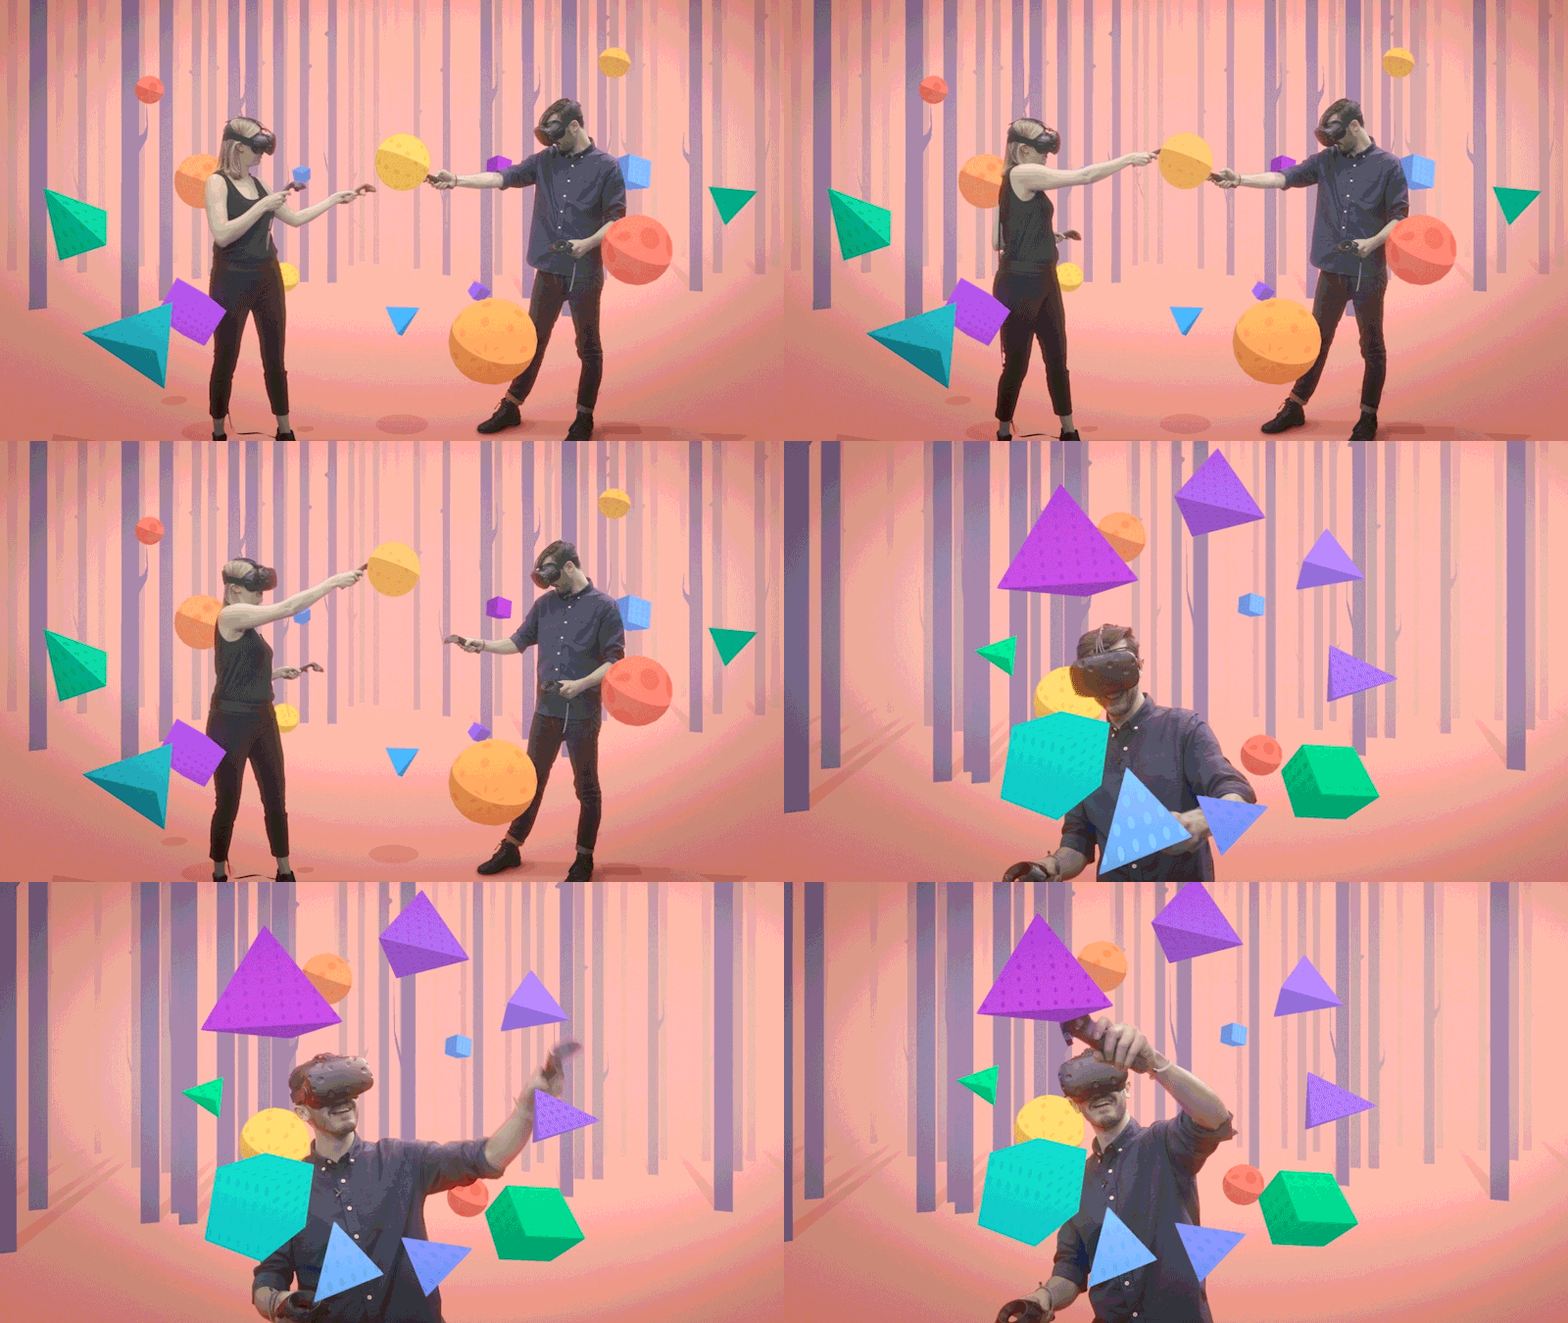
让虚拟现实变得简单
只需放入 <a-scene>,A-Frame 就能处理好 3D 与 WebXR 的底层样板代码,让你的项目跨移动端、桌面端以及各类头显运行(需使用支持 WebXR 的浏览器)。
基于 three.js 的 WebXR 框架
放入一个 <a-scene> 标签,A-Frame 接管 three.js 与 WebXR 的全部样板代码。
3D 预览需要加载 aframe.min.js,当前网络未能取到该脚本。
它把三维与 WebXR 的复杂度收进一层薄薄的声明式外壳,又不去挡住你触碰底层。
只需放入 <a-scene>,A-Frame 就能处理好 3D 与 WebXR 的底层样板代码,让你的项目跨移动端、桌面端以及各类头显运行(需使用支持 WebXR 的浏览器)。
HTML 易于阅读,也易于复制粘贴。因为场景可以直接用 HTML 书写,它对每个人都很友好。
<a-box color="#4CC3D9"></a-box>构建于 three.js 之上,提供可组合、可复用的结构;你仍然拥有对 JavaScript、DOM API、three.js、WebXR 与 WebGL 的完整访问权。
它是 three.js 之上的一层轻量框架。尽管使用 DOM,却不会触及浏览器的布局引擎。
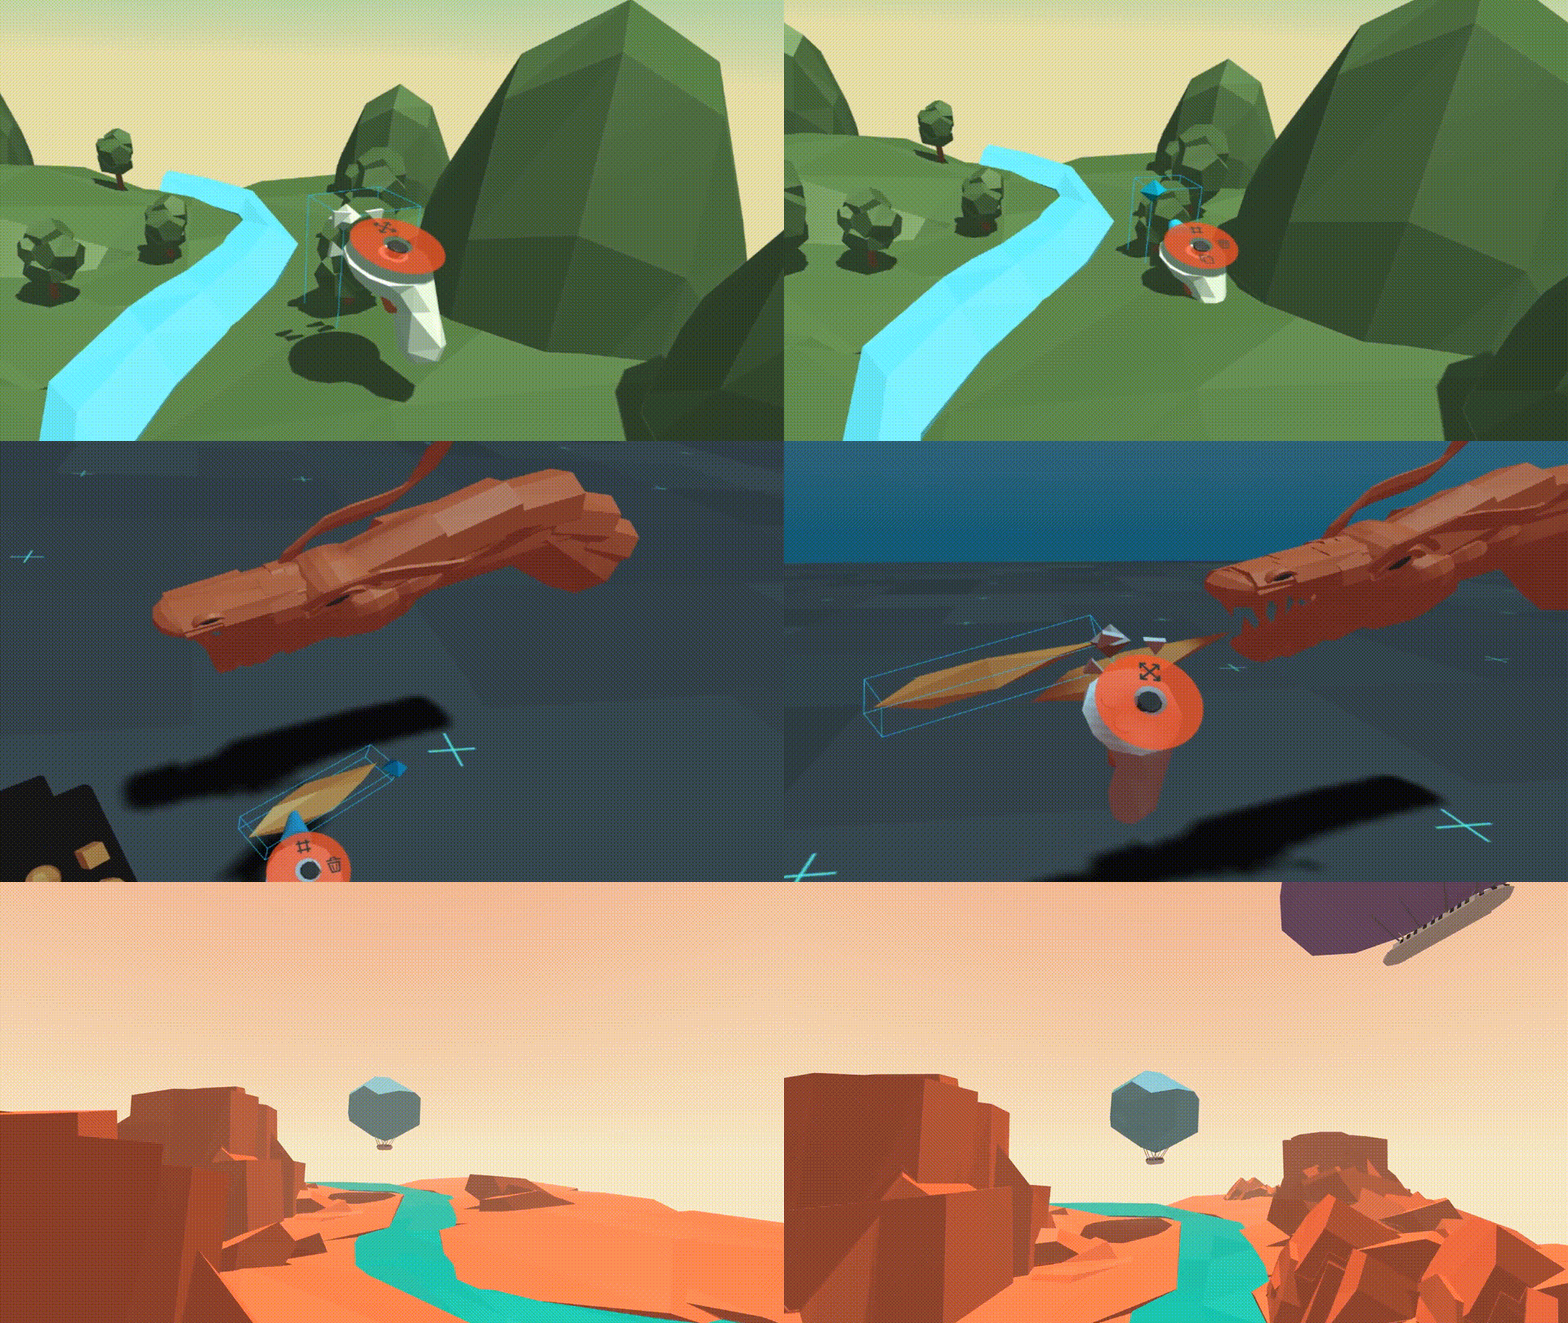
为任何支持 WebXR 的头显构建 VR 与 AR 应用。没有头显或控制器?桌面和手机上照样能跑。
内置 3D 检查器,工作流类似浏览器开发者工具,界面则类似 Unity。打开任意 A-Frame 场景,按下组合键即可唤出。
Ctrl+Alt+I
内置组件让你迅速起步,社区组件让你走得更远。
白色标签为内置组件,带色标签来自社区。
用法
下面的代码都来自官方 README,可以直接复制粘贴到任意 HTML 文件里打开。
<html>
  <head>
    <script src="https://aframe.io/releases/1.8.0/aframe.min.js"></script>
  </head>
  <body>
    <a-scene>
      <a-box position="-1 0.5 -3" rotation="0 45 0" color="#4CC3D9"></a-box>
      <a-sphere position="0 1.25 -5" radius="1.25" color="#EF2D5E"></a-sphere>
      <a-cylinder position="1 0.75 -3" radius="0.5" height="1.5" color="#FFC65D"></a-cylinder>
      <a-plane position="0 0 -4" rotation="-90 0 0" width="4" height="4" color="#7BC8A4"></a-plane>
      <a-sky color="#ECECEC"></a-sky>
    </a-scene>
  </body>
</html><html>
<head>
<script src="https://aframe.io/releases/1.8.0/aframe.min.js"></script>
<script src="https://cdn.jsdelivr.net/gh/c-frame/aframe-particle-system-component@1.2.x/dist/aframe-particle-system-component.min.js"></script>
<script src="https://cdn.jsdelivr.net/gh/c-frame/aframe-extras@7.7.x/dist/aframe-extras.min.js"></script>
<script src="https://cdn.jsdelivr.net/npm/@fern-solutions/aframe-sky-background/dist/sky-background.umd.min.js"></script>
</head>
<body>
<a-scene>
<a-entity id="rain" particle-system="preset: rain; color: #24CAFF; particleCount: 5000"></a-entity>
<a-entity id="sphere" geometry="primitive: sphere"
material="color: #EFEFEF; shader: flat"
position="0 0.15 -5"
light="type: point; intensity: 15.7"
animation="property: position; easing: easeInOutQuad; dir: alternate; dur: 1000; to: 0 -0.10 -5; loop: true"></a-entity>
<a-entity id="ocean" ocean="density: 20; width: 50; depth: 50; speed: 4"
material="color: #9CE3F9; opacity: 0.75; metalness: 0; roughness: 1"
rotation="-90 0 0"></a-entity>
<a-sky-background top-color="#EBEBF5" bottom-color="#B9B9D2"></a-sky-background>
<a-entity id="light" light="type: ambient; color: #888"></a-entity>
</a-scene>
</body>
</html><head>
<script src="https://aframe.io/releases/1.8.0/aframe.min.js"></script>
</head>npm install --save aframe
# 或 yarn add aframeimport AFRAME from 'aframe'; // 例如配合 Webpack 或 Vite 使用。三条命令把仓库跑起来,然后在浏览器里打开 http://localhost:8080。
git clone https://github.com/aframevr/aframe.gitcd aframe && npm installnpm start需要用 https 方式运行 npm run start:https。查看控制台中 “On Your Network (IPv4)” 一行,把对应的 url 复制粘贴到 hmd.link 服务上;随后在头显浏览器中打开 hmd.link,点击列表里那个刚复制的 url(头显需与本机处于同一网络)。由于使用自签名证书,浏览器会提示页面危险,忽略该警告继续访问即可。
npm run start:https
# 生成构建版本
npm run dist
保持联系